25 Texture Challenge

3:36 AM, Wednesday May 1st 2024

25 Texture Challenge - Album on Imgur

Imgur: https://imgur.com/a/kGOawcF

Discover the magic of the internet at Imgur, a community powered enterta...

I completed 5 textures at a time after every lesson/revision. At times I felt like I had improved, and at others I swear I went backwards...especially with the dragonfruit attempt which I ended up doing twice because I got confused (original picture https://imgur.com/a/MyuqDM6).

Anyhow, any feedback and improvement notes muchly appreciated! Thanks in advance!

0 users agree
9:06 PM, Thursday May 2nd 2024

So the way we generally approach texture- well, it's not really that different from how we tackle any of the especially challenging topics we explore in this course- relies a lot on giving students room, and time, to play around with the concepts at hand. So when we introduce these texture exercises in Lesson 2, it's usually with the expectation that students aren't going to understand it fully, and that they're probably going to try and memorize a lot of what they're being told (in the sense of identifying strict formulas they can apply consistently), rather than actually understanding the underlying mechanics of what's going on. Then, as they move through the next handful of lessons where they're made to consider how their forms relate to one another in 3D space, they explore these same problems in different contexts, and that helps lay down the groundwork for us to come back around and discuss these concepts in ways the student is better equipped to actually understand, rather than simply remember.

As a whole, your work here is honestly pretty solid. There are some points I'll be offering to help guide your understanding and consider how you might approach certain things differently, but as a whole I feel you've made a concerted effort to apply the concepts from the material, and that you've largely done a pretty good job when it comes to holding to the principles of implicit markmaking. So, what I share with you here will largely be with the intent of pushing you further along the path you're already on. In order to do this, I'll pick at a few examples from your work, to illustrate the points I'm trying to make.

To start, a relatively minor tip to keep in mind - since we're working with implicit markmaking (which means exclusively implying the presence of these forms by drawing the shadows they cast), it helps to always keep in mind which direction the light is coming from, because that light is what casts the shadows, and determines in which direction they are cast.

Just to get ahead of a few questions, for our purposes here, we're not super concerned with ensuring that everything is maintaining exactly the same light source - I often use implicit markmaking as a tool, and so I might treat different areas of an illustration in different ways depending on what they require, while keeping them generally consistent but not strictly so. If you're not intentionally playing a little loose with those "rules of reality", then you want to be defaulting to everything following those rules consistently, as a sort of default.

Getting back on track with what I was saying though, in this exercise we specifically place the light source on the far right so that the shadows our textural forms cast get larger the further away from the light source. And so, you get your smallest shadows (so small at times that they're not even visible) on the far right, closest to the light source, and as we move further away, the angle at which the light hits those textural forms gets shallower and shallower, causing the shadows to be cast further. So, as shown in this diagram, depending on how far the form is from the light source, the angle of the light rays will hit the object at shallower angles the farther away they are, resulting in the shadow itself being projected farther.

While in the majority of your textures you do generally remain consistent with this, there are some cases like the one on the top of this page, where you have some of those forms casting shadows back towards the right. Instead, we'd want them to be cast as shown here.

As I noted earlier, for the most part you've held quite well to the use of cast shadows, of implicit markmaking, and generally using these tools to help you create gradients of textures that convey smooth gradients. There are however some cases where you deviate from this:

  • The middle texture of this page appears to apply form shading to the scales. Not a huge issue, but do keep in mind that form shading falls more into the category of explicit markmaking, where we're drawing the form itself, rather than implying its presence by drawing the things that occur around it. So for the purposes of what we're doing in this course, as explained here, we find it best to set form shading aside. It also helps us avoid cases where we might confuse form shading and cast shadows as being the same thing, which they are not.

  • The middle texture of this page ends up towards the far right with situations where the textural form itself appears to suddenly stop, rather than appearing to gradually disappear. This usually happens when, despite technically approaching the marks correctly (in terms of drawing an outline for the shadow shape, then filling it in), we're still thinking as though our intent is to outline the form, and not actually think about how what we're depicting sits in 3D space. Although in this case in particular, I think you may have moved away from outlining and filling - there are definitely spots where you've just got lines that end.

  • Another example of the previous point can be seen in the bottom texture on this page (as well as the one above it), where you're really just outlining those veins. As a result, wherever those outlines stop, so too do the veins, rather than giving the impression that they continue on unseen. Generally when it comes to structures like this, I find that falling back to the approach mentioned in the diagram for these notes, where we focus on the areas where shadows tend to get "trapped" where different forms meet together, to be quite effective in applying implicit principles. This is demonstrated in this diagram from Lesson 3, although I've also illustrated the point on its own here. These concepts would also help with the kinds of challenges you faced for the middle texture on this page.

The last thing I wanted to give you additional information on is the texture at the top of this page. When it comes to those tires with shallow grooves, or really any texture consisting of holes, cracks, etc. it's very common for us to view these named things (the grooves, the cracks, etc.) as being the textural forms in question - but of course they're not forms at all. They're empty, negative space, and it's the structures that surround these empty spaces that are the actual forms for us to consider when designing the shadows they'll cast. This is demonstrated in this diagram. This doesn't always actually result in a different result at the end of the day, but as these are all exercises, how we think about them and how we come to that result is just as important - if not moreso.

Anyway, hopefully that dump of information is helpful. As a whole I'm still very pleased with how you're progressing through this challenge, and in general the issues I called out do appear to diminish as we move through the set, suggesting that you're picking up on those points to some extent on your own (although having them explained more explicitly can help in take what you understand on a subconscious level and solidify it).

I'll go ahead and mark this challenge as complete.

This critique marks this lesson as complete.
12:15 AM, Friday May 3rd 2024

Thanks Big U - these feedback notes are very helpful and I appreciate all the work you and your TAs do. Very comforting to know that it looks like I was learning along the way as it can sometimes feel like you aren't.

If anything, what I am gaining most through getting feedback is not to second guess myself as much as I do...as an over-thinker, you have no idea how much this means to me...so thank you.

The recommendation below is an advertisement. Most of the links here are part of Amazon's affiliate program (unless otherwise stated), which helps support this website. It's also more than that - it's a hand-picked recommendation of something I've used myself. If you're interested, here is a full list.
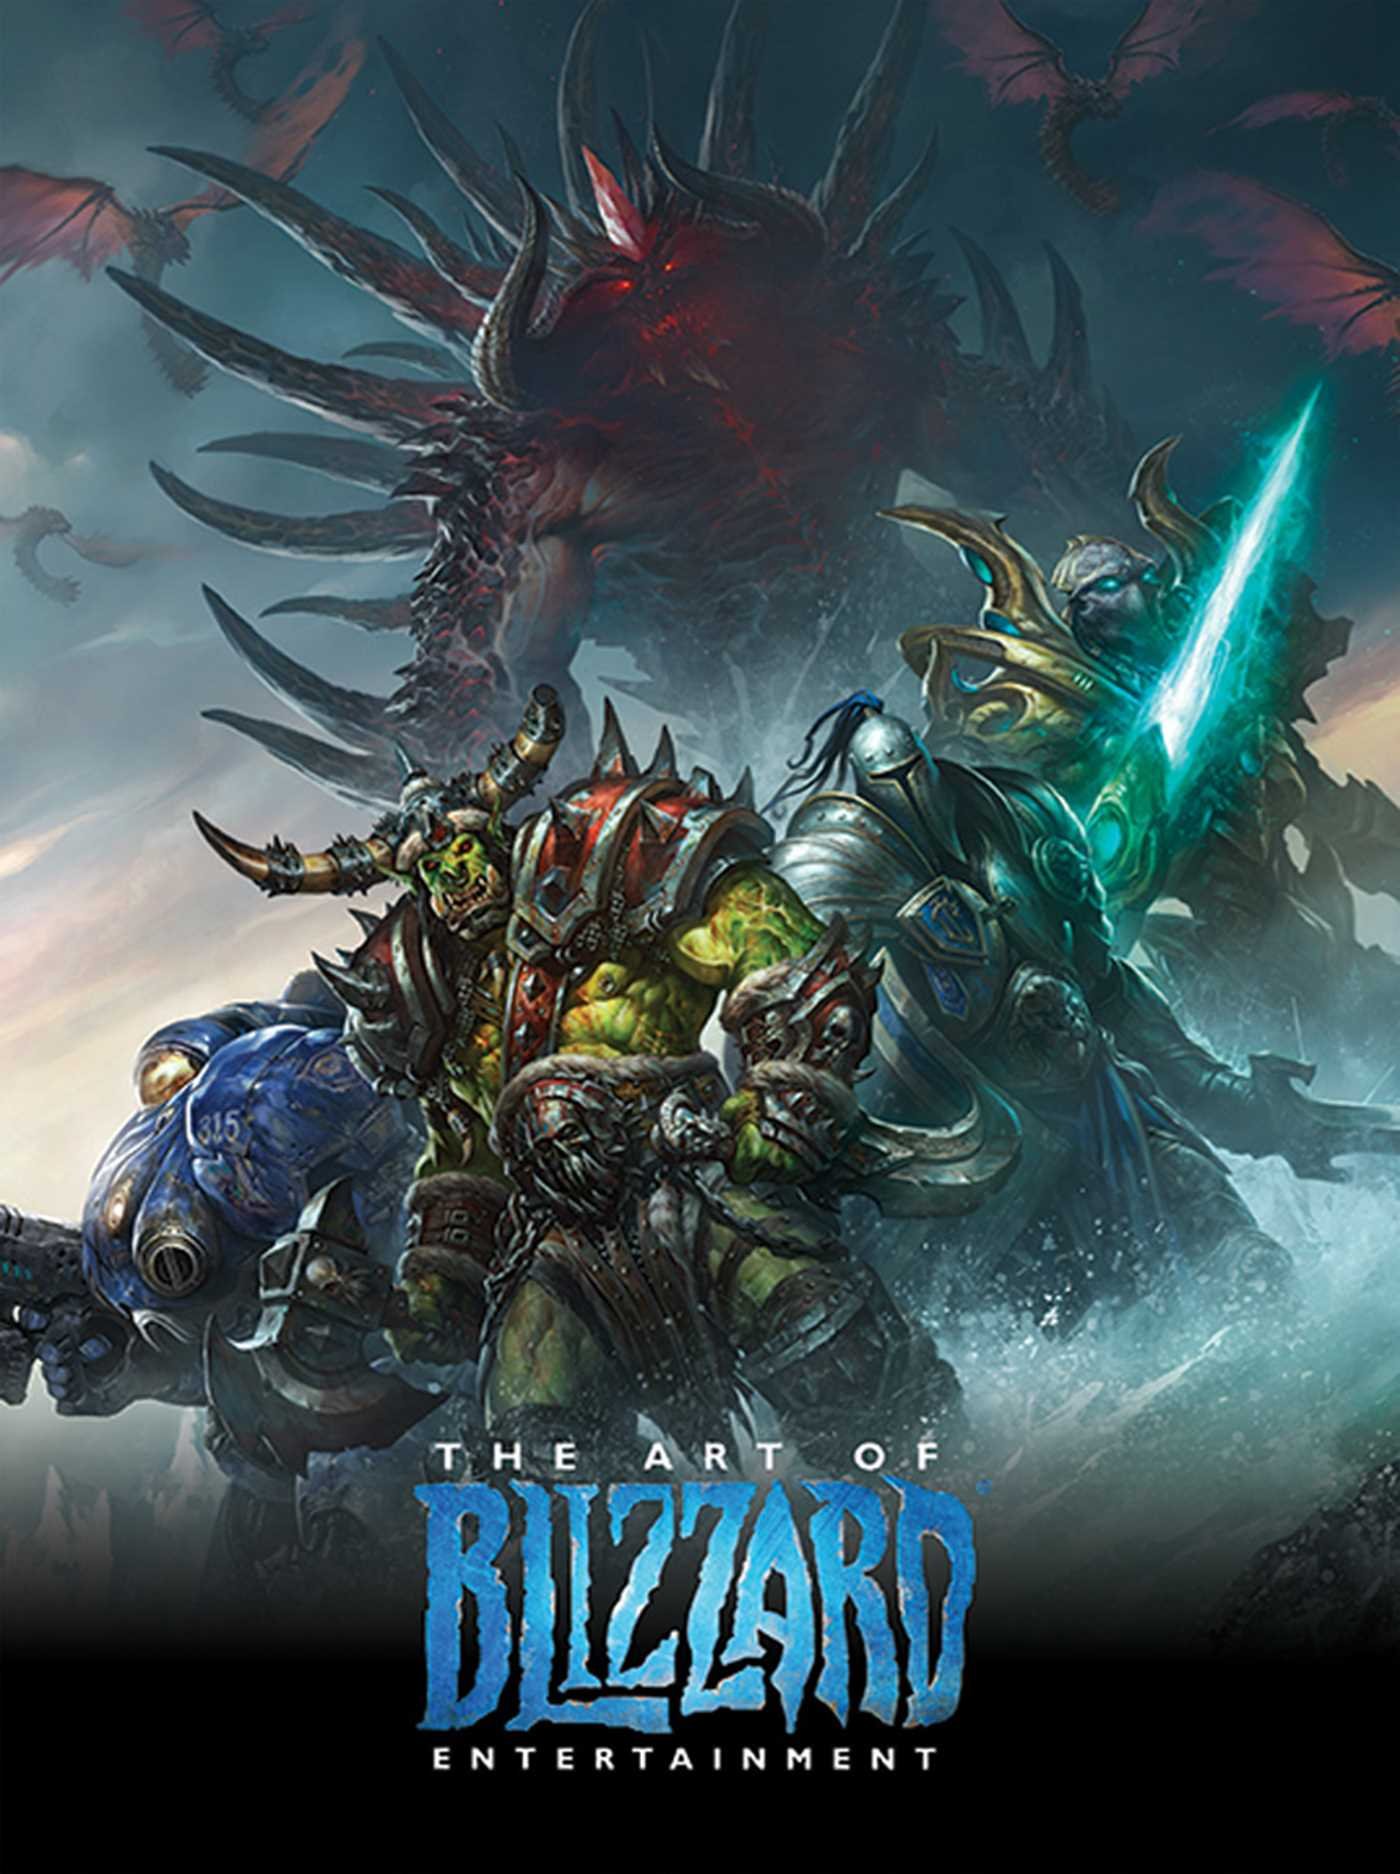
The Art of Blizzard Entertainment

The Art of Blizzard Entertainment

While I have a massive library of non-instructional art books I've collected over the years, there's only a handful that are actually important to me. This is one of them - so much so that I jammed my copy into my overstuffed backpack when flying back from my parents' house just so I could have it at my apartment. My back's been sore for a week.

The reason I hold this book in such high esteem is because of how it puts the relatively new field of game art into perspective, showing how concept art really just started off as crude sketches intended to communicate ideas to storytellers, designers and 3D modelers. How all of this focus on beautiful illustrations is really secondary to the core of a concept artist's job. A real eye-opener.

This website uses cookies. You can read more about what we do with them, read our privacy policy.